How to Create AI Product Photos: A Step-by-Step Guide
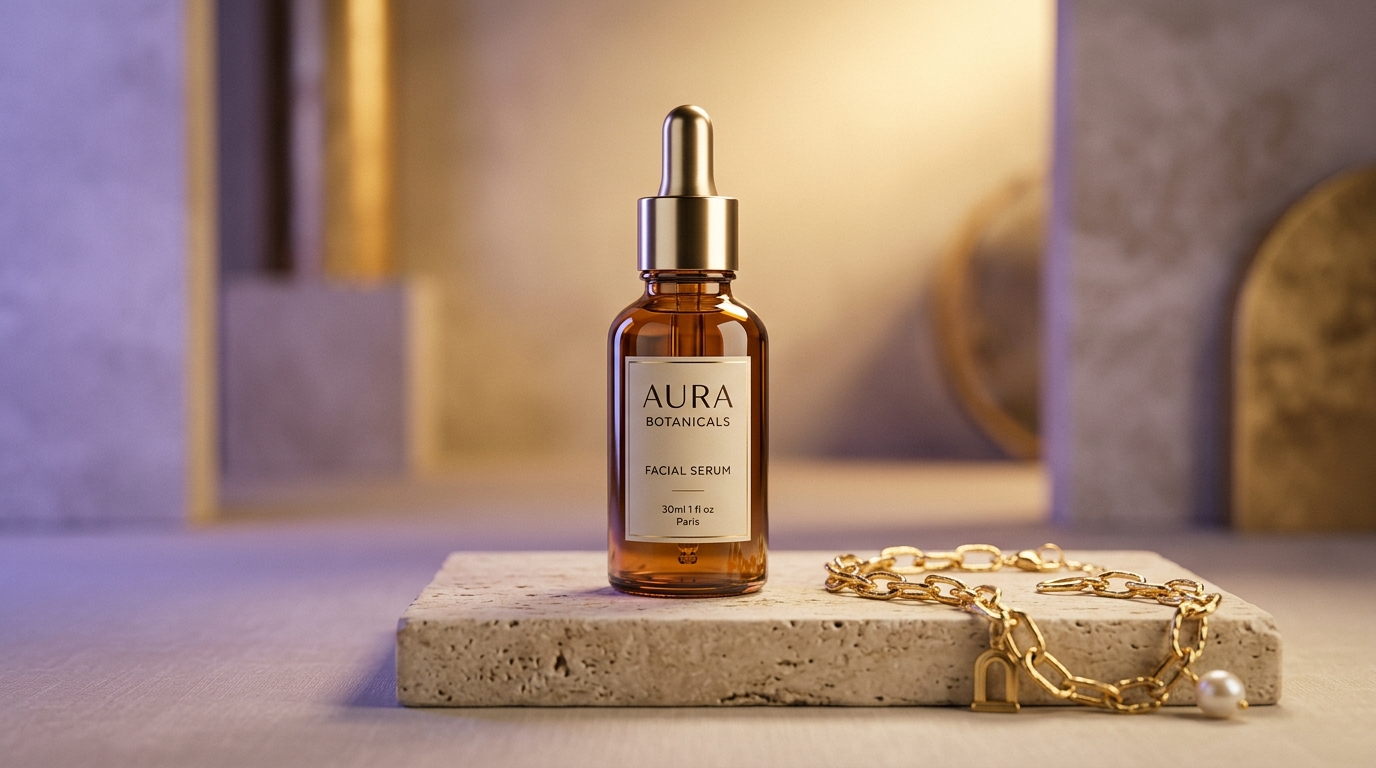
This guide walks through that process in detail, for any product category, whether you're photographing skincare bottles, electronics, home goods, jewelry, or apparel. If you specifically sell fashion or clothing and want a deeper workflow built around brand consistency across a full apparel catalog, our 7-step fashion product photo workflow covers that in more depth. Everything below applies more broadly, to any physical product you're photographing for a store, marketplace, or ad account.
What You Need Before You Start
You don't need a studio, but you do need a few basics in place:
- A real photo of your product. This is the single input every AI product photography tool needs. It can be a phone photo, provided it's clear and well lit. You're not trying to produce a finished image yourself, just giving the AI enough visual information to work from accurately.
- A sense of where the image will be used. A white-background listing image for Amazon has different requirements than a lifestyle shot for an Instagram ad. Knowing your destination before you generate saves you a re-export step later.
- Time to review the output. AI-generated images need a quick accuracy check before they go live, the same way a retouched photo would get a final look before publishing. Build this into your workflow rather than treating generation as the last step.
Step 1: Take or Gather a Clean Source Photo
Your source photo is the reference the AI works from, and it has more influence on your final result than any prompt or setting you choose afterward.
A few things make a meaningful difference here:
- Shoot on a plain, uncluttered background. A table, a lightbox, or a plain wall all work. Busy backgrounds make it harder for the tool to isolate your product cleanly.
- Use even lighting. Natural window light or a simple diffused light source reduces harsh shadows and color cast. Avoid mixed lighting (for example, a lamp and a window at the same time), since it can shift colors in ways the AI won't reliably correct.
- Get as close to the true colors as possible. If your product has a specific color, print, or finish, make sure the source photo represents it accurately rather than relying on the AI to correct an off color later.
- Shoot straight-on where possible. An angled or partial view gives the AI less to work with and can produce distorted proportions in the output.
- Go as high-resolution as your camera or phone allows. Higher-resolution inputs generally produce cleaner, more detailed outputs, especially for text, logos, or fine texture.
If you wouldn't be comfortable using the source photo as-is on a basic product listing, it's worth reshooting before you generate anything from it.
Step 2: Choose the Right Output Type
Most AI product photography tools offer a few distinct output types, and picking the right one for the job matters more than most people expect.
| Output Type | Primary Destination | Key Focus |
|---|---|---|
| White or plain background | Marketplace main images (Amazon, Flipkart, Shopify) | Channel-compliant pure white backdrop, full product in frame, neutral lighting |
| Lifestyle or styled scene | Social ads (Meta/Instagram), hero banners, PDP context | Realistic setting, natural surface textures, authentic ambient lighting |
| On-model shot | Apparel, jewelry, worn accessories | Accurate drape/fit, natural model pose, true-to-scale sizing |
| Detail or close-up crop | PDP secondary gallery, texture & hardware zoom | High resolution, sharp logos/labels, unwarped material detail |
- White or plain background. Standard for marketplace main images and clean catalog listings.
- Lifestyle or styled scene. Places your product in a realistic setting, useful for ads, social posts, and product pages that benefit from context.
- On-model shots. For apparel, accessories, or anything worn, this shows the product on a person rather than flat or on a mannequin.
- Detail or close-up crops. Useful for texture, hardware, labeling, or anything a customer would want to zoom in on.
Generating a random mix of everything usually wastes credits and time. Decide what you actually need for your listing or campaign first, then generate specifically for that.
Step 3: Generate the Image
Once your source photo is uploaded and you've picked an output type, the generation itself is usually fast, often under a minute per image.
If the tool allows text prompts or style guidance, keep instructions specific and limited rather than descriptive and elaborate. A short instruction about the setting or angle (for example, "on a light wood surface, soft natural light") tends to work better than a long, adjective-heavy description. Overly detailed prompts can compete with the product reference itself and lead to less accurate results, particularly around color and print.
If you're generating multiple images of the same product (different angles, different scenes), doing them as a batch from the same source photo helps keep the result visually consistent, rather than uploading slightly different photos for each generation.
Step 4: Check the Result Against the Real Product
This step is easy to skip and shouldn't be. AI-generated images are new images, not filtered versions of your original, which means small inaccuracies can slip in that wouldn't happen with a straightforward photo edit.
Before publishing, check for:
- Color accuracy. Does the product's color in the image match the real item under normal lighting?
- Logo, text, and label accuracy. Small text and logos are the most common place for AI generation to introduce errors, so zoom in and check closely.
- Proportions and shape. Does the product's shape and size look correct, without warping or odd distortion?
- Print or pattern accuracy. For patterned products, check that the pattern is continuous and undistorted, not shifted or duplicated oddly.
- Background artifacts. Look for stray shadows, blurred edges where the product meets the background, or leftover elements from the original photo.
If something looks off, regenerating with a cleaner source photo usually resolves it faster than trying to fix the same output repeatedly.
Step 5: Export for Where the Image Is Going
A single generated image often needs to become several different files depending on where it's published. Marketplace, storefront, and ad requirements are not the same, and each can change over time, so it's worth confirming current specs directly with the platform before publishing rather than relying on older guidance.
As one general reference point, Shopify's own Help Center recommends product images around 2048 x 2048 pixels for square listings, though the platform technically accepts images up to 5000 x 5000 pixels or 25 megapixels, provided the file stays under 20 MB. That's a useful baseline for an online store, but Amazon, Etsy, and social ad platforms each publish their own separate specifications, and those differ by category in some cases too.
A practical export checklist:
- Confirm current destination requirements. Confirm the current image requirements for each destination (marketplace, storefront, ad platform) before exporting.
- Export the correct aspect ratio. Export the correct aspect ratio for each destination rather than stretching or cropping one image to fit multiple places.
- Retain high-resolution masters. Keep a high-resolution master version of each generated image so you can re-export at different sizes later without regenerating.
- Verify background color standards. Recheck background color requirements separately, since some platforms require pure white while others allow lifestyle or colored backgrounds.
Common Mistakes to Avoid
- Using a low-quality source photo. This is the most common cause of poor AI output. A blurry, poorly lit, or heavily shadowed photo limits what the AI has to work with, no matter how good the tool is.
- Skipping the accuracy check. Publishing straight from generation without comparing the result to the real product is the fastest way to end up with a listing image that doesn't quite match what a customer receives.
- Over-describing in prompts. More adjectives don't produce a better result. Specific, limited instructions about setting or angle tend to outperform long descriptive prompts.
- Publishing without confirming current platform specs. Image requirements vary by marketplace, by country, and sometimes by product category, and they do change over time. Checking the platform's own current documentation before publishing takes a few minutes and avoids a rejected listing.
- Treating every product the same way. A reflective product (glass, metal, glossy packaging) and a matte fabric product don't behave the same way in AI generation. If you're getting inconsistent results, it may be worth adjusting your approach by category rather than assuming one workflow fits everything you sell.
When AI Product Photography Isn't the Right Fit
AI-generated images work well for high-volume catalog needs, quick turnaround, and filling out marketplace or social formats without a full studio booking. They're less suited to situations where a customer specifically expects to see the exact physical unit unretouched, certain used-goods categories, or products with unusual materials and mechanical detail that are difficult to represent accurately without a real shoot.
For flagship campaign imagery where full creative and lighting control matters most, a traditional shoot may still be the better call. Many brands use both: AI generation for the bulk of catalog and marketplace images, and traditional photography for a smaller set of hero or campaign shots.
How SocialShot Fits In
SocialShot AI is built around this same upload-generate-review workflow, with support for on-model images, marketplace listing photos, and ad or social creative from a single product photo. It auto-formats output toward common specs for platforms including Amazon, Flipkart, Myntra, Meesho, Ajio, and Nykaa, though final listing approval always depends on that marketplace's current published rules, so checking your export against them is still worth doing either way.
Pricing runs on a credit system: a free account starts with signup credits and no card required, and paid plans begin at $2.99 per month for 25 credits, with higher tiers available for larger catalogs. Purchased and top-up credits don't expire and include commercial usage rights on generated images, though free signup credits and subscription plan credits reset on their own schedules, so it's worth checking the current pricing page for exact details before committing to a plan.
If you're weighing AI generation against booking a traditional shoot, our AI product photography vs. traditional studio comparison breaks down the cost and quality tradeoffs in more depth, and the product fidelity guide is a useful next read on exactly what to check before an AI-generated image goes live.
Ready to create AI product photos?
Upload a clean photo of your product to generate marketplace-ready listings, lifestyle scenes, and on-model shots in seconds.
Frequently Asked Questions
Do I need professional photography equipment to create AI product photos?
No. A phone photo with decent lighting and a plain background is usually enough for the AI to work from. What matters more than equipment is a clear, well-lit, undistorted view of the product.
How long does it take to generate an AI product photo?
Generation itself is typically fast, often under a minute per image, though this varies by tool and by output complexity (a simple white background versus a full on-model scene, for example).
Can I use AI product photos in paid ads?
Generally yes, as long as the image accurately represents the product and follows the ad platform's current content policies. Most ad platforms require creative to be an honest representation of what's being sold, regardless of how the image was produced.
Will AI product photos work for every type of product?
Most categories work well, but results vary. Simple, matte, solid-colored products tend to generate more reliably than highly reflective, transparent, or intricately patterned items. It's worth testing a small batch in your specific category before committing to a full catalog rollout.
Is it obvious that an image was AI-generated?
Quality varies by tool and by how well the source photo was prepared. A well-executed AI product photo, generated from a clean source image and reviewed for accuracy, is often difficult to distinguish from a traditionally shot and edited photo. Poor source images or a rushed workflow tend to be where visible issues show up.
Do AI product photos meet marketplace requirements automatically?
Some tools auto-format toward common marketplace specifications, which helps, but final approval always rests with the marketplace itself. Requirements can differ by platform, by country, and by product category, and they can change, so confirming the current published guidelines before publishing is still necessary.