How to Quality-Check AI Product Images: The 7-Point Pre-Publish QA Protocol
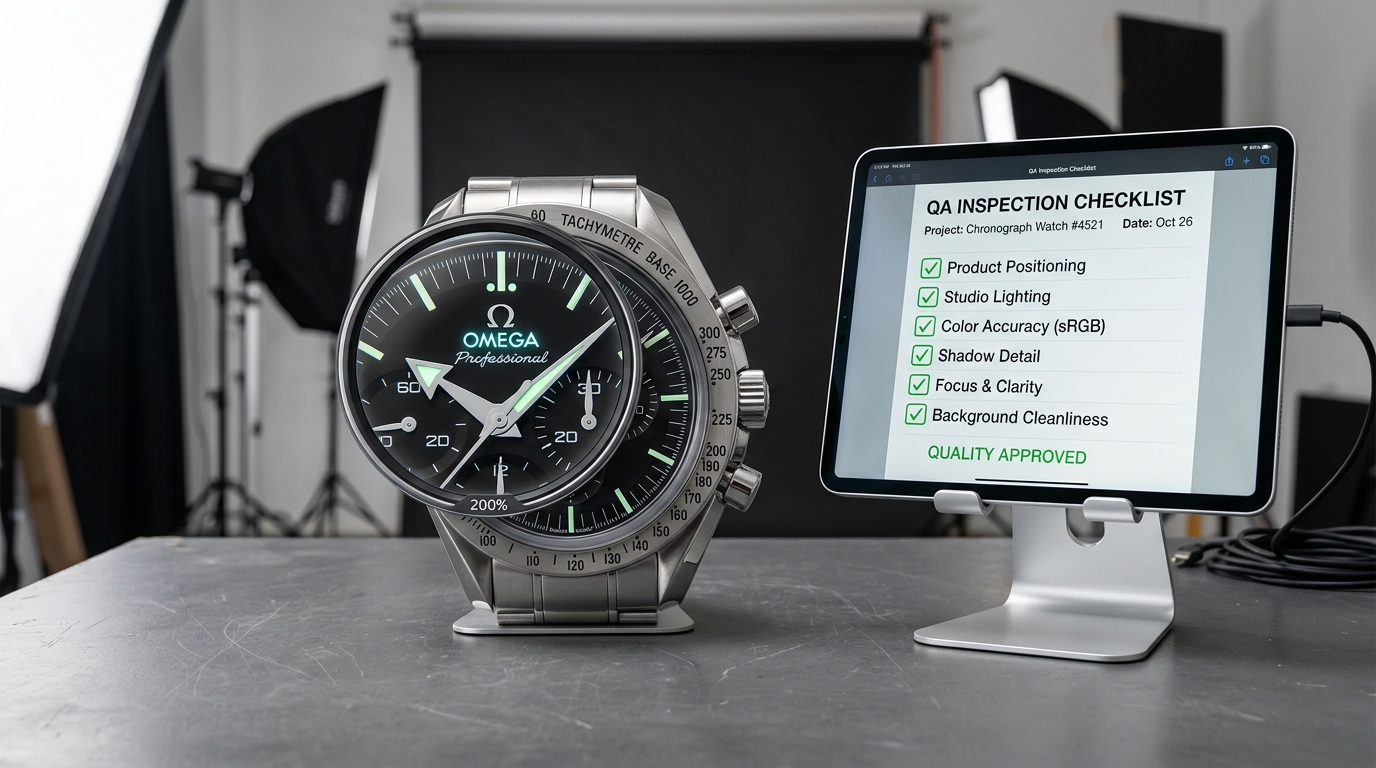
When commercial photographers finish a studio session, they don't upload the memory card directly to a client's live Shopify store. They open the files in Lightroom or Capture One, zoom in to 100%, flag sensor dust, check color balance against an X-Rite color checker, and verify focus on critical product features.
Because AI product photography generates finished images in seconds, merchants frequently make the mistake of treating software as an autonomous publisher rather than a digital camera operator. Bypassing human quality assurance is how flawed images—subtly warped logos, floating products without contact shadows, or harsh perimeter halos—end up live on product pages.
This guide outlines a repeatable 7-Point Pre-Publish QA Protocol designed to take less than 60 seconds per SKU while catching 99% of generation defects before they impact customer trust or conversion rates.
Why Pre-Publish QA Matters More Than Prompting
Online merchants often spend hours tweaking text prompts trying to produce a "flawless first try." In reality, professional imaging at scale is built on rapid generation coupled with decisive quality filtering:
- Human eyes are pattern-recognition machines. Customers may not know how diffusion algorithms work, but they can immediately sense when a shadow angle doesn't match a window light source, triggering unconscious friction.
- Preventing marketplace compliance penalties. Amazon bots automatically scan main images. A microscopic prop artifact or an off-white pixel value (e.g., RGB 252, 252, 252 instead of pure 255, 255, 255) can quietly trigger listing suppression.
- Protecting customer acquisition efficiency. If you are spending thousands of dollars running Meta or TikTok ads to a product page, a single flawed hero image can cut add-to-cart rates in half, doubling your effective customer acquisition cost.
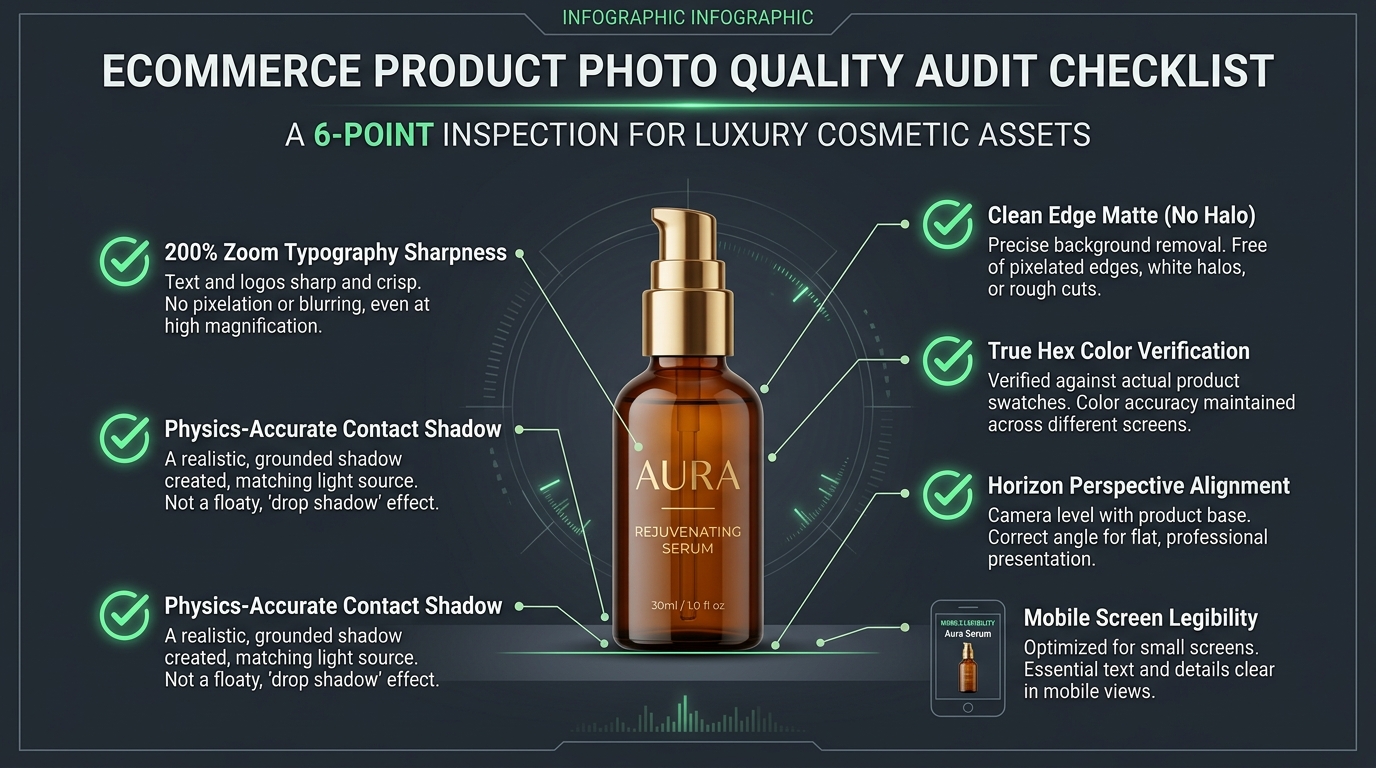
The 7-Point Pre-Publish QA Inspection Protocol
Run every newly generated product asset through this sequential checklist before exporting it to your CMS or marketplace catalog:
1. The 200% Zoom Typography & Logo Check
Open the full-resolution asset and zoom in to 200% directly over all product typography, brand logos, legal volume markings (e.g., "50ml / 1.7 fl oz"), and ingredient lists. Verify that letterforms are crisp, straight, and completely legible. If characters appear smudged, warped, or AI-hallucinated, discard the generation.
2. The Ground Contact Shadow & Occlusion Audit
Examine the exact boundary where the base of the product touches the surface. A realistic product must have a dark, tight contact shadow (ambient occlusion) directly beneath its footprint. If the product appears to float even 2 millimeters above the surface, or if the shadow is cast to the left while sunlight illuminates the scene from the left, the image fails physical coherence.
3. The Perimeter Halo & Edge Matting Inspection
Scan the outer edges of the product, particularly against darker backgrounds or intricate contours like spray nozzles, bottle caps, or woven fabric hems. Look for "halos"—a thin, fuzzy line of the original background color bleeding through the mask. Clean alpha segmentation should transition smoothly into the new environment without jagged stair-stepping or blurry fringe.
4. The True-Color & Delta-E Sanity Check
Hold the physical product in your hand under neutral daylight or calibrated office lighting and view the image on your monitor. Has the simulated scene lighting shifted the core colorway? For example, did a warm terracotta ceramic glaze turn pale peach, or did a navy shirt turn charcoal grey? If the primary shade drifts beyond acceptable tolerances (ΔE > 2.0), adjust the color grading before publishing.
5. The Horizon Line & Camera Angle Consistency Check
If you are generating a set of images for a product carousel, place them side by side. Do they share a consistent camera perspective and horizon line? If image 1 is shot straight-on at 0 degrees, image 2 is shot at a steep 45-degree top-down angle, and image 3 is tilted, swiping through the gallery will disorient the shopper.
6. The Mobile Viewport Stress Test
Over 75% of ecommerce purchases occur on mobile devices. An image that looks impressive on a 27-inch 4K desktop monitor may become an illegible blur when scaled down to a 320-pixel-wide mobile product card. Shrink your preview to phone size or view the image directly on a test device. Does the product stand out immediately with strong contrast against its background?
7. Marketplace Compliance Verification
If the asset is intended as a marketplace hero (Amazon, Walmart, Flipkart), use an eyedropper tool to verify that the background is true RGB (255, 255, 255) across all corners, that the product occupies at least 85% of the frame area, and that no unapproved props, watermarks, or promotional text are present.
Scannable QA Troubleshooting Matrix
When an image fails QA, use this reference matrix to identify the root cause and apply the fastest fix:
| Visual Flaw | Root Cause | Inspection Method | Recommended Fix |
|---|---|---|---|
| Floating Object / No Grounding | Missing ambient occlusion in diffusion synthesis | Check contact plane beneath product base | Select a surface preset with strong directional lighting & contact shadows |
| Smudged / Hallucinated Text | Tool redrew foreground instead of masking | 200% zoom crop over packaging label | Ensure product-preserving mask is active; do not use open text prompts |
| Fuzzy White Edge Halo | Rough segmentation cutout on source photo | Scan perimeter against dark or textured surface | Reshoot reference photo on clean, high-contrast background with sharp focus |
| Severe Color Cast Shift | Extreme warm or cool scene lighting prompt | Compare digital image against physical swatch | Switch to neutral daylight or studio cyclorama preset with color lock |
| Distorted Perspective / Slanted Surface | Wide-angle camera distortion on input photo | Check vertical lines of product edges | Capture source photo using 2x/3x optical zoom from 4-5 feet away |
Setting Up an Efficient 3-Tier Approval Workflow
For brands managing catalogs of 50 to 500+ SKUs, running manual checks one by one can create an operational logjam. Establish a streamlined three-tier workflow:
- Tier 1: Automated Platform Validation. Use software that automatically validates pure white background thresholds (RGB 255, 255, 255), minimum resolution requirements (e.g., 2000x2000px for Amazon zoom), and correct aspect ratio crops upon export.
- Tier 2: Merchandiser Spot-Check. A human team member conducts the 60-second 7-point audit across batch contact sheets, quickly flagging any image with shadow misalignment or color drift for a one-click regenerate.
- Tier 3: Multi-Channel Cloud Sync. Approved assets are tagged and synced directly to your CDN or ecommerce store without repeated manual file renaming or resizing.
How SocialShot Streamlines Quality Assurance
SocialShot's imaging platform was engineered to minimize QA friction. By using automated boundary segmentation, spatial depth locks, and strict color-calibration pipelines, SocialShot eliminates product drift at the source.
With bulk product photography, your entire collection is rendered under synchronized lighting and perspective coordinates, ensuring that every image in your catalog meets the same uncompromising commercial standard.
Quality-checked product photography at scale
Generate studio-grade, compliance-ready product imagery with built-in fidelity protection on SocialShot AI.
Frequently Asked Questions
How long should a quality check take per image?
For an experienced merchandiser or store owner, the 7-point QA check takes 30 to 60 seconds per image. When reviewing batch contact sheets, you can visually scan 20 images at once and quickly pinpoint outliers in lighting or edge clarity.
What resolution do I need to inspect images properly?
Always inspect images at their native 100% or 200% pixel scale on a calibrated display. Never evaluate image quality solely from small thumbnail previews, which can mask edge halos and blurred typography.
How do I know if an image meets Amazon's pure white requirement?
Use an image viewer with an eyedropper tool to sample the background in multiple spots, particularly in the corners and near the product edges. Pure white must read exactly Red: 255, Green: 255, Blue: 255. Any value below 255 (e.g., 253, 254) can be flagged by automated marketplace compliance scanners.
What is the single most common flaw in AI-generated product images?
The most frequent error is the 'floating sticker' defect—where an object is composited onto a background without a realistic contact shadow and ambient occlusion beneath its base. This immediately signals artificial generation to shoppers.
Can I perform color QA using a smartphone screen?
Modern iPhones and flagship Android devices feature calibrated OLED displays with P3 wide color gamut, making them excellent secondary QA tools. Checking the image on a phone is essential because that is where the majority of your customers will view it.
What should I do if an AI generation fails the QA check?
If the failure is caused by edge halos or blurriness, the root cause is usually a poor source photo—reshoot the reference image in brighter indirect daylight. If the failure is a color shift or shadow angle issue, simply adjust the scene preset or re-generate with a more balanced lighting prompt.